Garage door openers work hard to lift heavy doors. They keep your home secure and give you easy access to your garage. But they also fail sometimes. When they stop working, life gets stressful. You may feel stuck, confused, or even unsafe. What to do then? You have to troubleshoot the garage door opener in Rockville. Don’t know how? Then this blog is for you.
Today, we will be discussing how to troubleshoot garage door openers.
Tips to Troubleshoot Garage Door Opener in Rockville
Start With the Most Basic Fix: Check the Power Source
Many people forget to check the power source first. So start there. Look at the outlet. Make sure the opener’s plug sits firmly inside it. Tug the plug lightly. Sometimes it loosens over time.
Next, check the circuit breaker. Sometimes it trips during storms or power surges. Flip the breaker off and on again. Then test the opener. Now check the opener’s own power cord. Make sure the cord didn’t burn, pinch, or tear. If the power works, move to the next step.
Inspect the Safety Sensors at the Bottom of the Door Tracks
Safety sensors sit near the floor on both sides of your garage door. They align and send a clean beam across the floor. They stop the door from closing when something sits in the way. If those sensors fall out of alignment, the door refuses to close. You may hear the opener click, but refuse to move. Or the door goes down halfway and jumps back up.
Here is what you should do:
- Clean each sensor lens with a soft cloth
- Make sure the LED lights stay solid, not blinking
- Adjust the sensor brackets until both LEDs stay solid
- Tighten the screws so they don’t move
- Remove boxes, toys, or tools blocking the beam
Once you align the sensors, try the door again.
Read this too: How to select the right garage door opener?
Test Your Remote Controls and Keypads One by One
If the door works from the wall button but not from the remote, the issue lies with the remote. Try these steps:
- Replace the remote battery
- Move closer to the opener
- Make sure nothing blocks the signal
- Reprogram the remote using the “Learn” button on your opener
- Clear old codes and re-add your remote
If your outdoor keypad stops working, do the same. Replace the battery. Enter the code again. Reprogram the keypad if needed. If the opener responds after reprogramming, you found the fix.
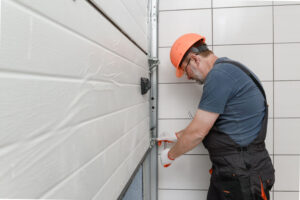
Check the Wall Control Panel and Wiring
Your wall button plays a big role. If it fails, the opener does nothing. Press the wall button. If nothing happens, check the wiring. Two low-voltage wires run from the button to the opener. They may become loose. They may rust or break.
Tighten the screws at the wall button and at the opener. Check for cuts or breaks in the wire. If you see a damaged section, replace the wire. If the button stays dead after all that, the button may have failed. Replace it. They cost very little and install quickly.
Adjust the Travel Limits When the Door Won’t Fully Open or Close
Your opener uses travel limits to control how far the door moves. If the limits shift, the door behaves strangely. You may see the door:
- Stop too early
- Reverse for no reason
- Hit the floor and bounce back
- Stay stuck an inch open
Look at the adjustment screws or knobs on your opener. You’ll see one labeled “Up” and one labeled “Down.” Turn them slowly.
Open the door. Close the door. Adjust again until the door stops exactly where it should. Move in small steps. Test after each change. You don’t want to over-adjust and create a new problem.
Look for Mechanical Issues in the Tracks, Rollers, and Hinges
Sometimes the opener works fine, but the door itself struggles. A garage door uses rollers, hinges, cables, and springs to move smoothly. When one part wears out, the opener feels the strain and stops working.
Walk along the tracks. Look for:
- Bent spots
- Tight corners
- Dirt buildup
- Loose bolts
- Worn or cracked rollers
Clean the tracks. Tighten all bolts. Replace bad rollers. Lubricate the hinges and roller stems with a silicone spray. Never touch torsion springs. Never adjust them. Call a trained tech for that part.
Examine the Chain or Belt for Slack or Over-Tightness
Chain-drive and belt-drive openers need proper tension. A loose chain slaps the rail. A tight chain strains the motor. Look at the chain or belt when the door moves. If it sags too much or pulls too tight, adjust the tension bolt near the trolley.
Make small adjustments. Over-tightening can damage the sprocket and motor. If you hear grinding or rattling noises, don’t ignore them. They usually mean your chain or belt needs tuning.
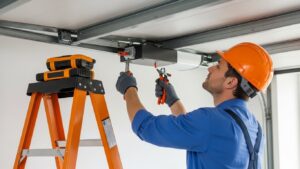
Listen to the Motor: Strange Sounds Tell You the Real Story
No motor stays silent forever. But some sounds point to trouble. Grinding noises may mean worn gears. Slow, strained noises may mean the motor struggles with lifting a weight. Clicking noises may come from a failing motherboard.
Open the cover and look at the gears. Worn gears look dusty and cracked. You may see white plastic shavings in the housing. Replace the gear kit if needed. If you smell burning or see burned sections on the board, stop right there. Shut off the opener. Replace the board or call a professional.
Reset the Opener When Nothing Else Works
Sometimes the simplest fix is a reset. Each opener has a reset method. Some use a button. Some use a combination of unplugging and plugging back in. A reset clears small glitches and restores normal function. After the reset, test the entire system. Open the door. Close the door. Test the remotes. Test the keypad and wall button. Make sure everything runs smoothly.
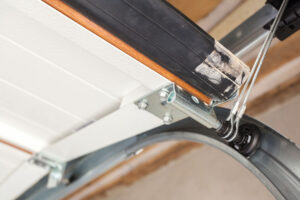
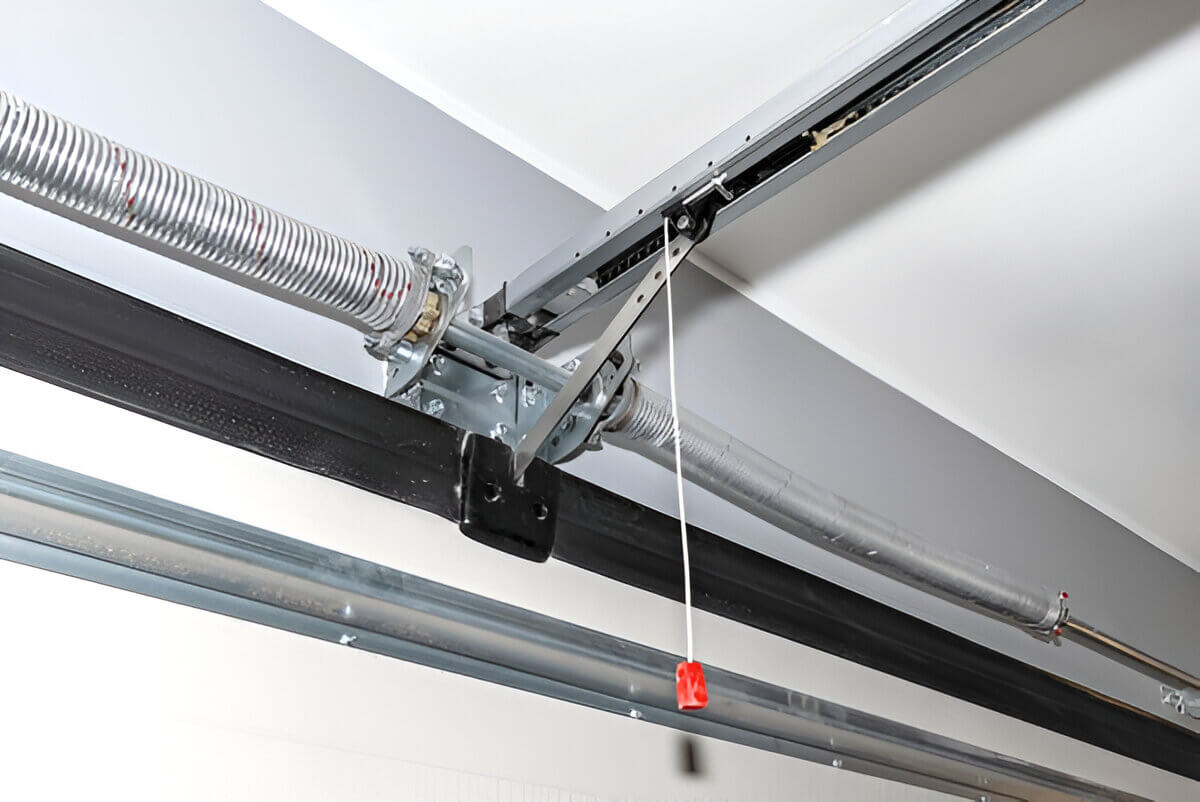
Check the Springs and Cables for Safety Risks
Your opener cannot lift the door if the springs become weak or broken. A garage door weighs more than you think. The opener relies on the springs to carry most of the weight.
If you see the door sag. If you hear loud bangs in the garage. If the door feels heavy when lifted by hand. These signs point to spring issues. Do not touch the springs yourself. They can injure you. Let a trained technician replace them. Also, check the cables. If they look frayed or rusted, replace them before they snap.
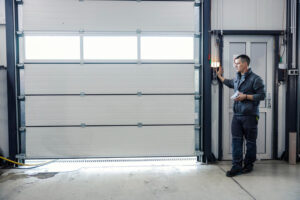
Test the Manual Release to Diagnose Hard Problems
Every opener has a red manual release cord. Pull it. Then lift the door by hand. If the door feels heavy or uneven, the problem lies with the door, not the opener. Fix the mechanical issue before touching the opener again. If the door glides smoothly by hand, reconnect the release and test the opener. If it still fails, the motor or board may need service.
Inspect the Weather and Environment Around the Door
Sometimes the environment creates trouble. Extreme cold stiffens old grease. Heat affects the circuit board. Dust clogs sensors. Humidity rusts rollers and rails.
Check the area around the garage door and look for:
- Moisture on the sensors
- Rust on hinges
- Frozen weather strips
- Dust buildup
- Dead insects or spider webs near sensors
Fix the environmental issue, then retest your opener.
When the Lights Blink: Read the Error Code
Most modern openers show error codes through blinking lights.
LiftMaster, Chamberlain, Craftsman, Genie, and other brands use different codes. The number of blinks tells you the exact issue. Count the blinks. Then check the user manual.
Here are some common blink meanings:
- One blink: Sensor issue
- Two blinks: Sensor wiring issue
- Three blinks: Travel limit error
- Four blinks: Motor overload
- Five blinks: Board or RPM sensor issue
Once you understand the code, you fix the problem faster.
Read More: How much does it cost to get a garage door repaired?
Know When It’s Time to Call a Professional
You can fix many issues yourself. But some jobs require training, tools, and experience.
Call a pro when you see:
- Broken springs
- Damaged cables
- Burned circuit board
- Motor failure
- Cracked rails
- Severe bending in the track
- Heavy vibration or shaking
Need help with garage door opener repair in Rockville, MD? Contact Superior Garage Door. We fix all types of garage door opener issues and have them working in no time.